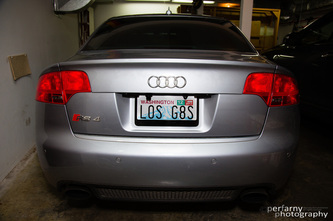
Rear Sensors // 01.13.2013
|
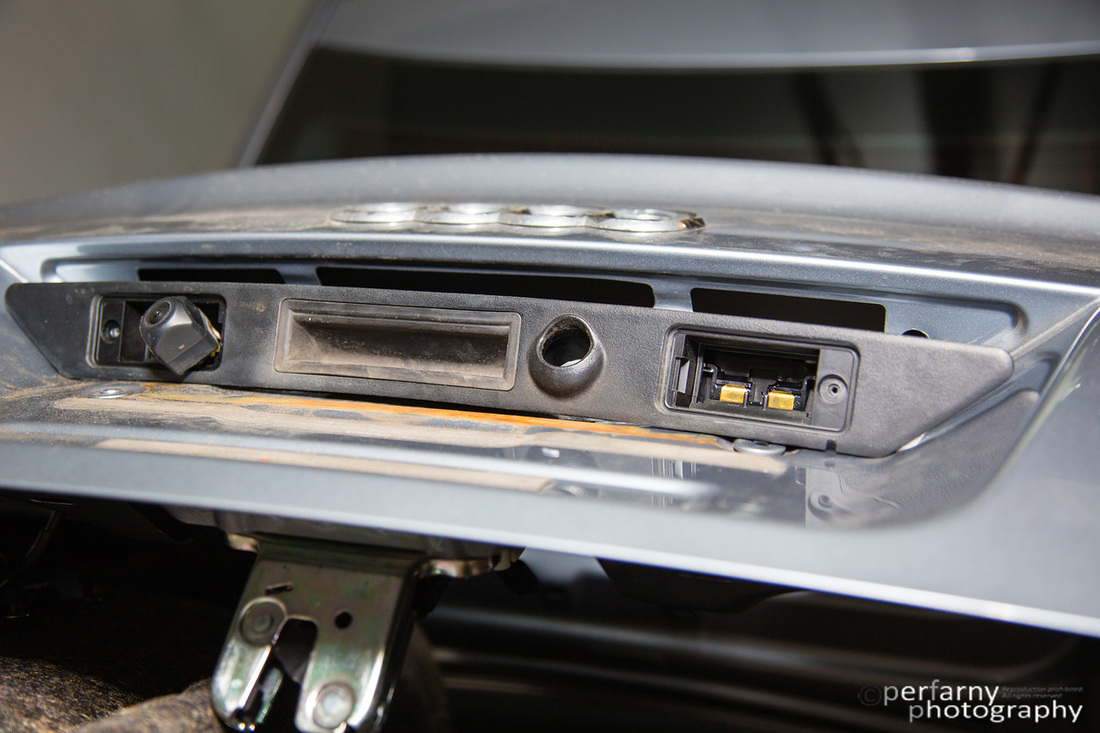
There's really only one spot to put the sensors, and that's underneath the trunk handle/license plate lights. That area has surface to mount to, and it's level. I saw that my installer went inside of the left license plate light to run the cable for the backup camera, so I initially thought I'd do the same here....until I saw the size of the connectors on the LI cables:
|
|
After scratching my head a bit and wondering if I could cut and re-attach, Cliff from LI promptly replied to my mail and forum post (awesome customer service, btw, he's known for it) and told me that most actually remove the entire handle/light assembly, run the cables inside while cutting out a small notch, and then replace the handle. OK, sounded like a plan. In order to do that, you need to:
I didn't know how to easily remove the trunk lock cable, so I left it in place and worked here with it twisted 90 degrees for the duration...was just fine.
- Remove the rear lid trim
- Remove lock cylinder
- Remove head collar nuts
- Press in plastic catches and remove the assembly.
I didn't know how to easily remove the trunk lock cable, so I left it in place and worked here with it twisted 90 degrees for the duration...was just fine.
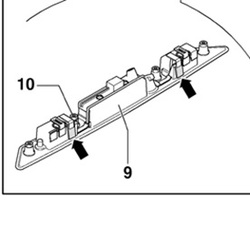
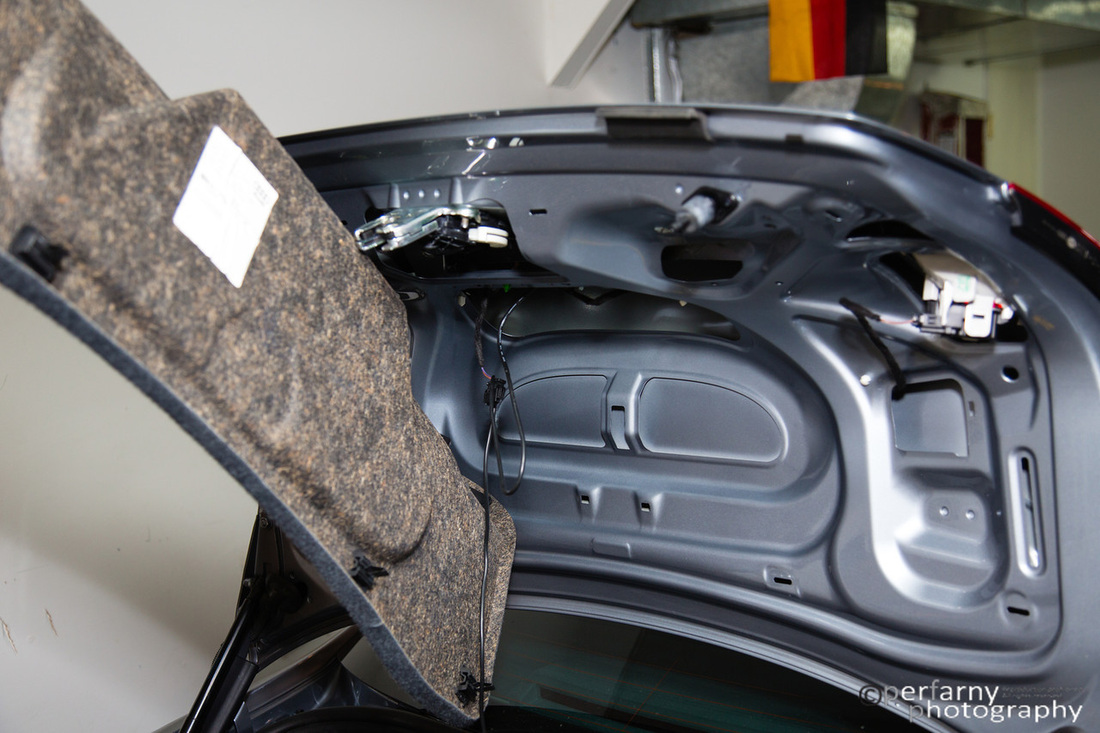
Next, the lock cylinder. It's secured by one 8mm bolt. Remove that, and Bentley says ' turn 90 degrees then remove'. In my experience, it's more like 45 degrees or so, and yes - it is +45 degrees (initially I wondered in which direction I should twist). Unhook the trunk lock cable from it prior to twisting back and forth slightly while pulling until it's completely removed. At this point, you need to squeeze the plastic catches of the license plate housing portion of the handel assembly (see arrows below) to finally set it free.
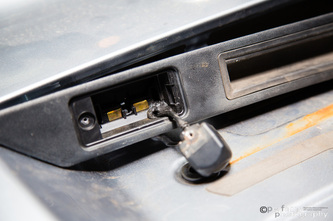
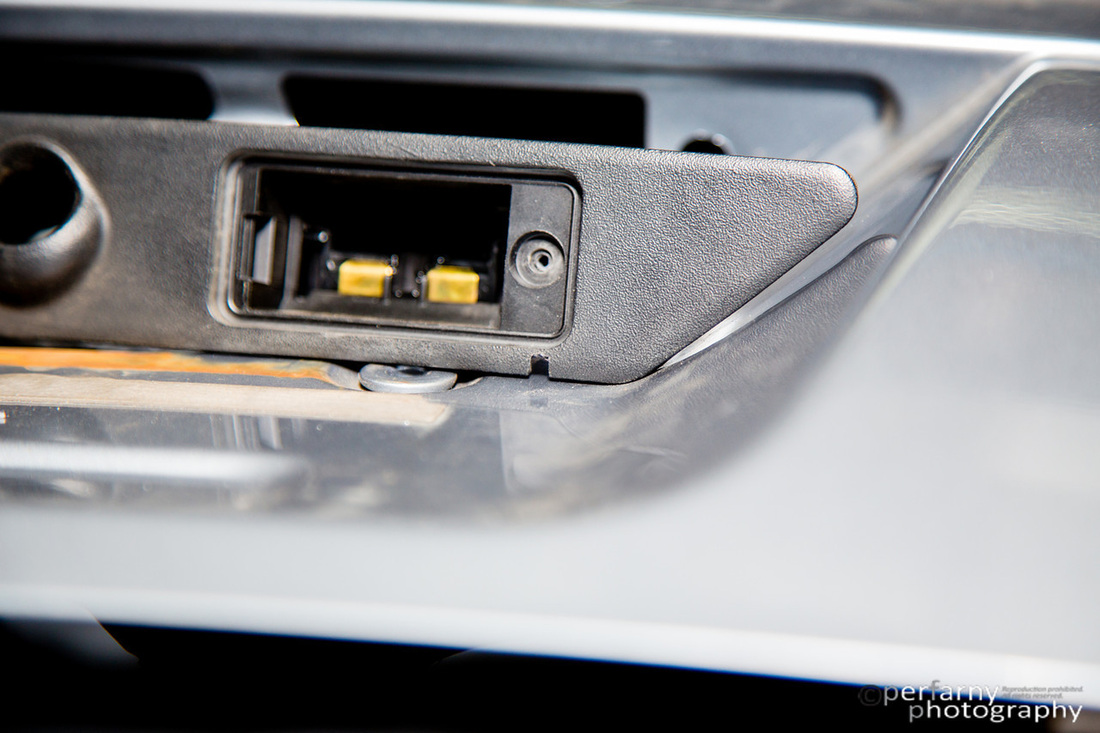
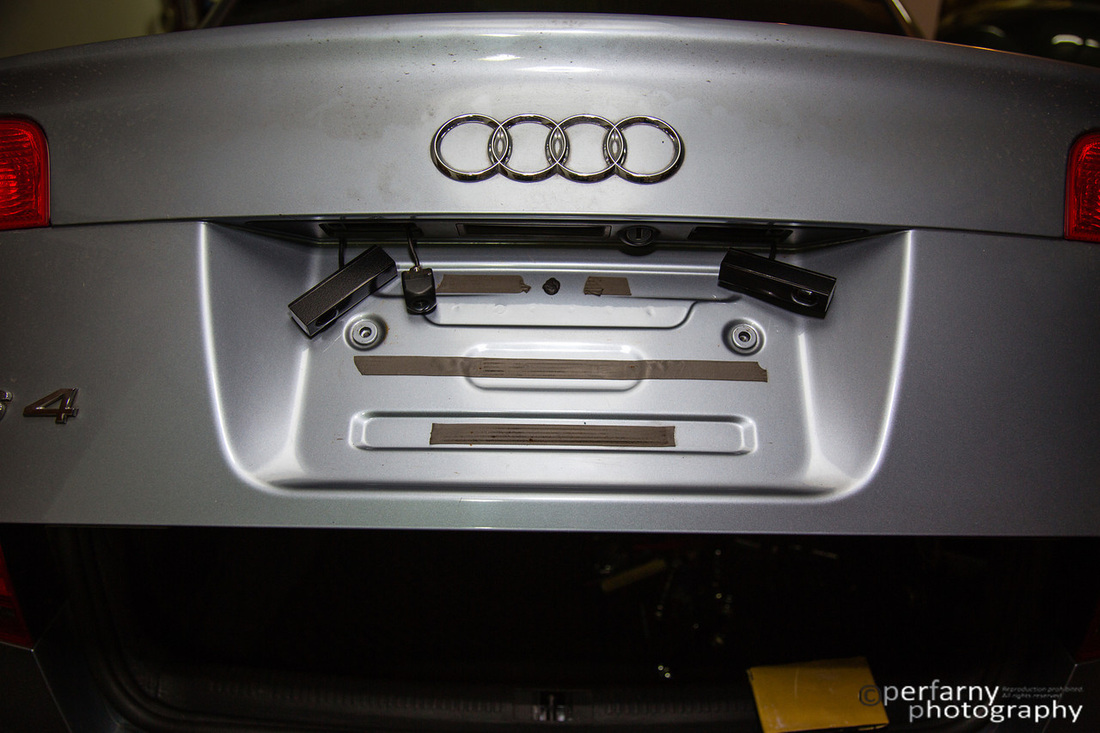
With the license plate covers also off (single screw on each side), here's what you're looking at when removed. I had to keep it close to car since I didn't want to unhook and re-run the backup camera cable, others can remove completely from car to make it easier. Also note, below pic was taken after next step was already taken, i.e. make a small notch in the plastic on lower right).
With the license plate covers also off (single screw on each side), here's what you're looking at when removed. I had to keep it close to car since I didn't want to unhook and re-run the backup camera cable, others can remove completely from car to make it easier. Also note, below pic was taken after next step was already taken, i.e. make a small notch in the plastic on lower right).
Take your dremel and make a small notch in the plastic to run the cable through:
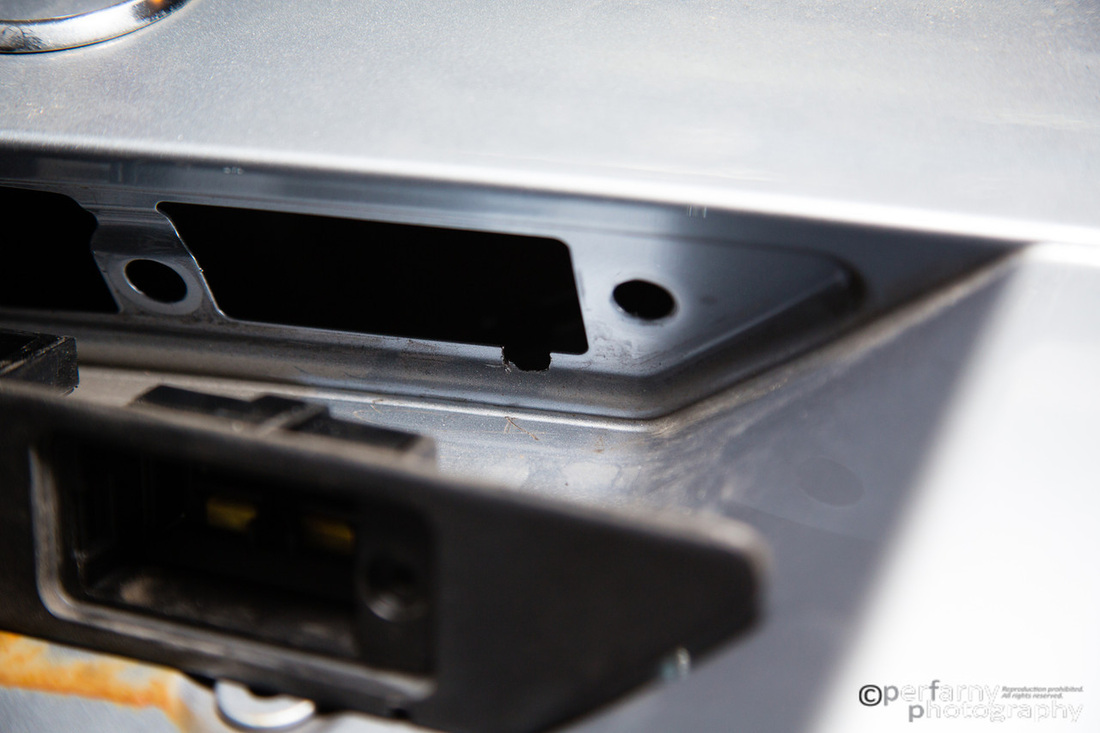
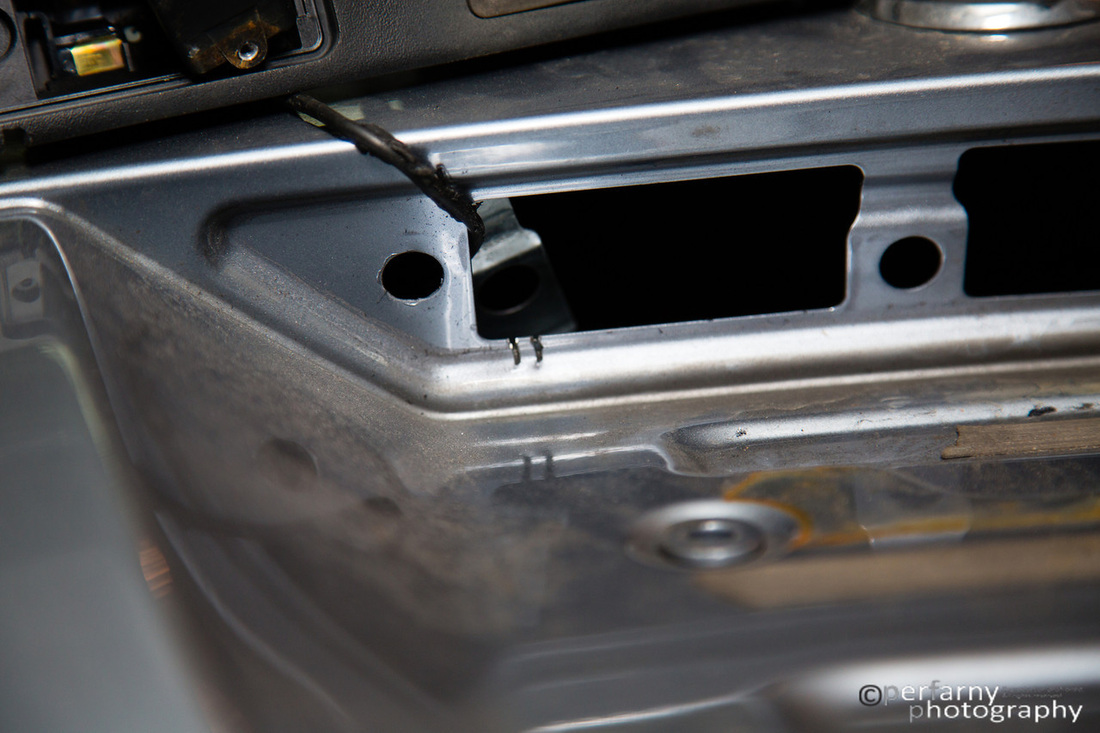
Do the same on the metal behind that spot. Note, this one is a bit wider than it actually needs to be:
The other side I made just as wide as required. My approach was making two cuts with the dremel, then using a needle nose pliers (curved) and wiggling out the piece to be removed. Then file down and smooth.
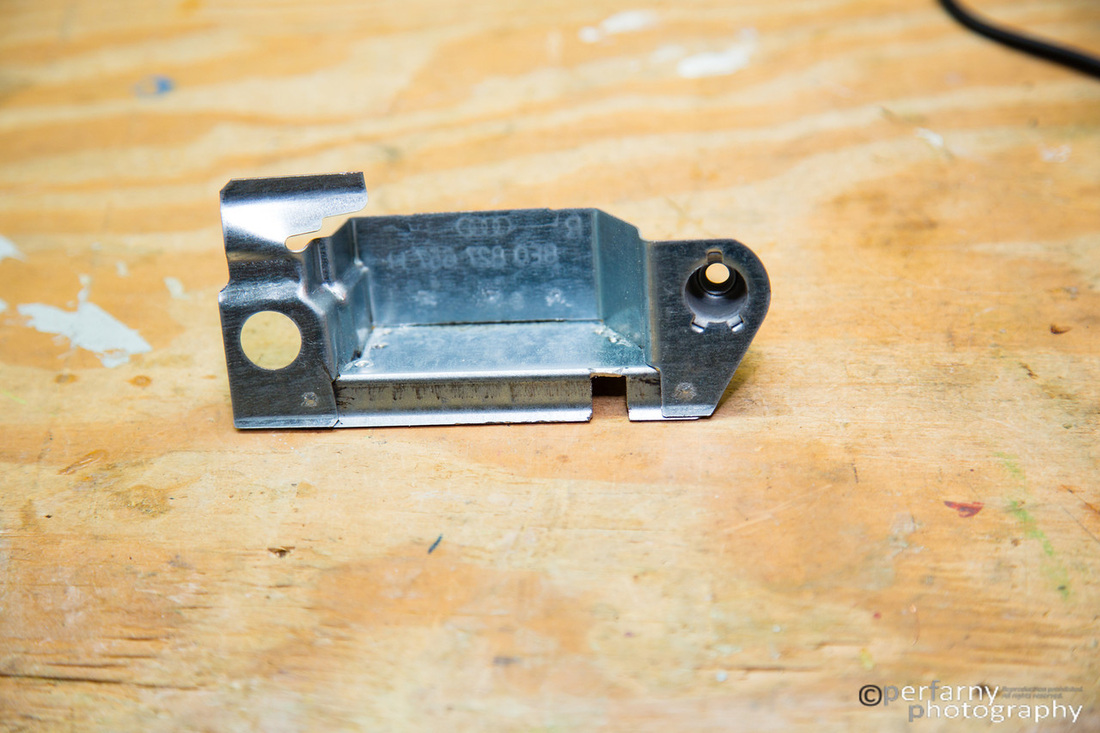
You also need to make a cut out in the inside metal housings of the license plate lights. These came off when you removed the handle assembly.
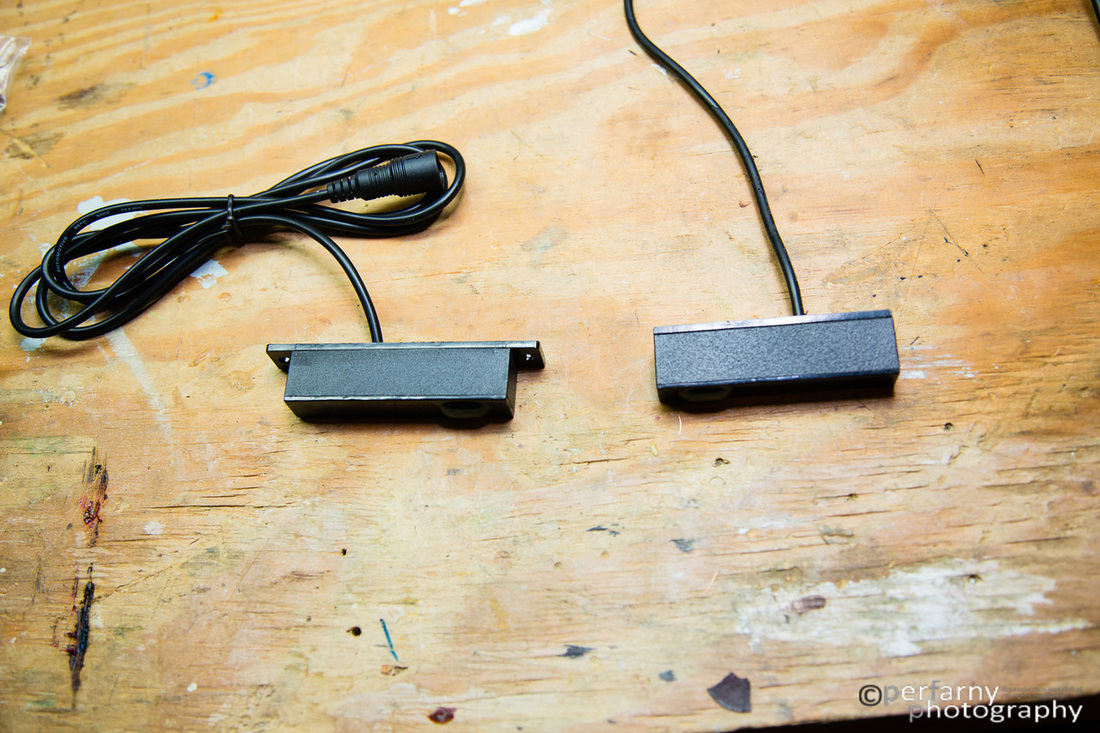
Now, prep the sensors. For my mounting solution, I chose to cut off the screw mounts with a saw. Pretty easy sawing, it's hardened plastic. Modified sensor on the right below.
Now, it's time to run the cable inside and reattach the handle assembly. Nothing special here, just reverse of disassembly. Took a little time and cleaned up the entire area, and now it looked as follows:
For the actual mounting of the sensors, you need to make sure that they are completely level, and that they are pointing directly backwards, not toed in or out to the center or sides. LI inlcudes a small bubble level for this, and I also used a ruler to run across both heads to ensure they're not toed in any way (lay it across both of them and make sure there's even contact). As for securing them, most people use the heavy-duty 3M double-sided tape. I had some silcone laying around, and chose to go with that instead. I spread it across the top of the sensors and then pressed against the handle assembly. Over the course of the next 5 minutes, I used the bubble level to make sure it was positioned perfectly. I secured with just a bit of tape but it was actually already hardened enough by that time where it wasn't going to move if it remained untouched.
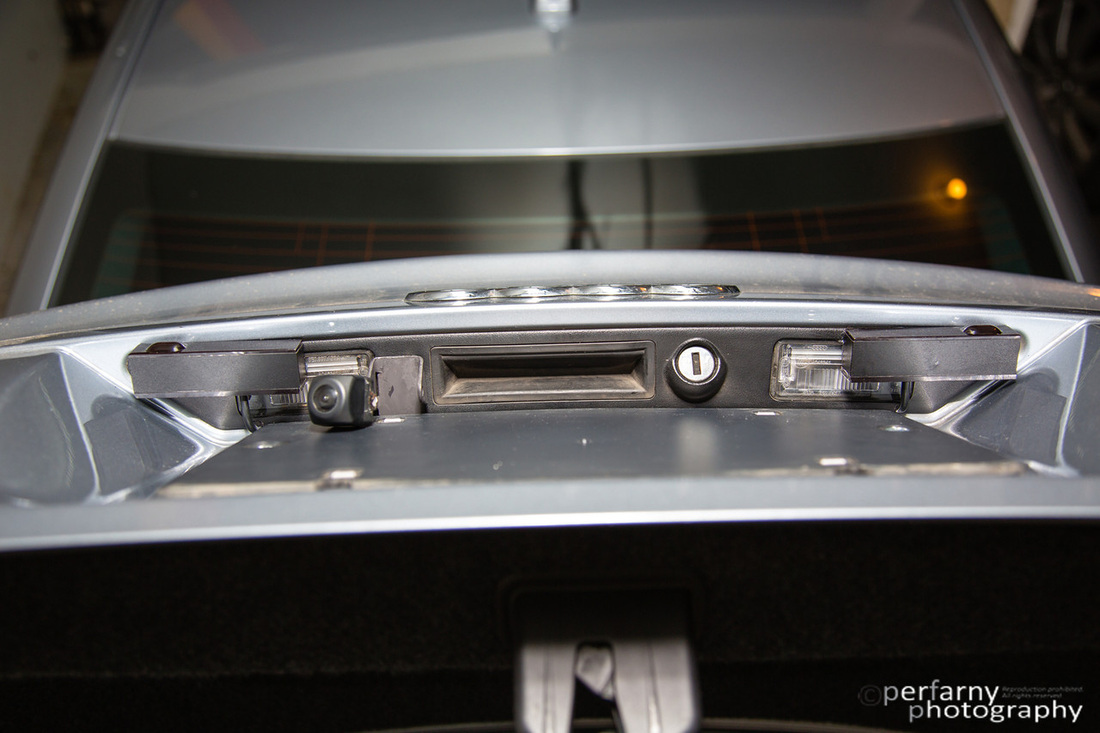
Sensors secured. You'll notice the inside edges are flush with the handle assembly, where the outsides extend a bit further. This is because the handle has a slight curvature to it, and the sensors are positioned straight with each other. Hard to see in the below, but outside facing back of sensors do not actually touch the carl; I left a small gap to ensure no paint scratching.
Sensors secured. You'll notice the inside edges are flush with the handle assembly, where the outsides extend a bit further. This is because the handle has a slight curvature to it, and the sensors are positioned straight with each other. Hard to see in the below, but outside facing back of sensors do not actually touch the carl; I left a small gap to ensure no paint scratching.
Put it all back together and you have this:
I checked the sensors this morning and they're mounted rock solid and level. So far, so good! Now I need to run the cables up to the front. I used my trusty coat hanger for this to weave the two cables to the left of the trunk lid. Note, I ran the coat hanger by itself first from bottom to top, then attached cable with electrical tape and pulled through. Attaching first and trying to snake it down was getting me nowhere fast.
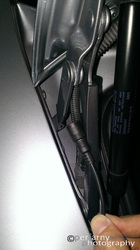
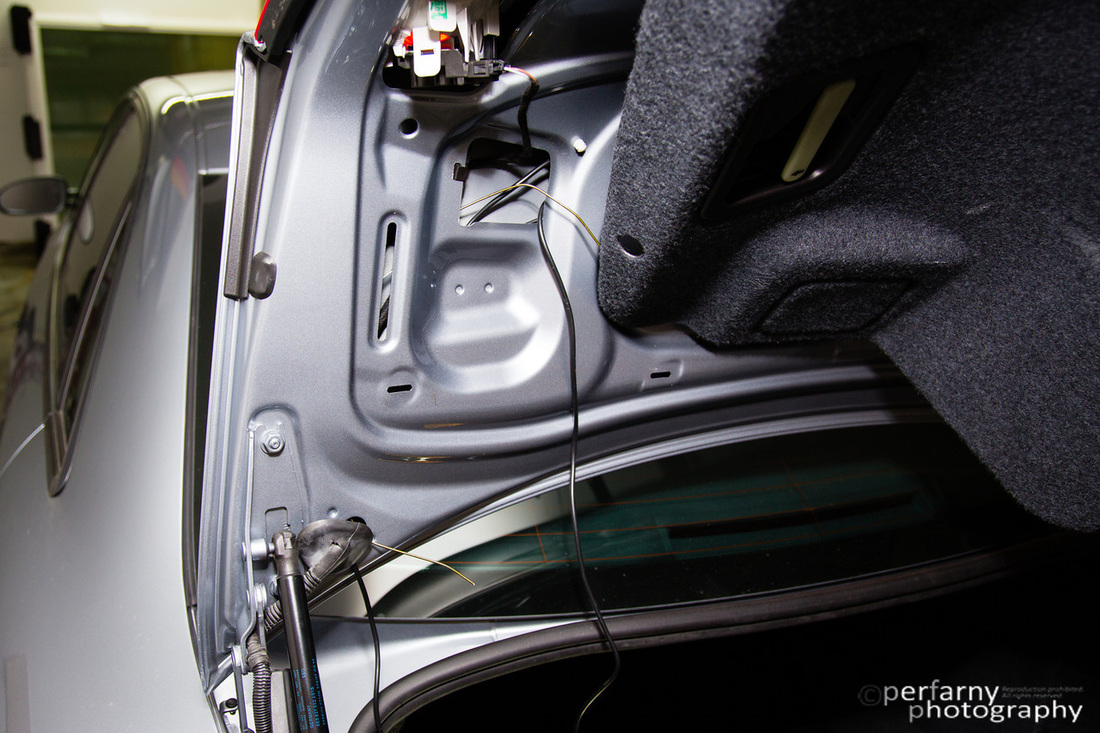
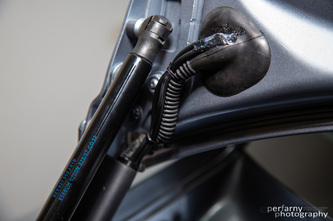
Now, the next challenge: the rubber cable management from the car is again too small for me to run the connectors through. So, I cut a small slit and ran the cables on the outside, secured by zip ties, and tucked behind the plastic cable management guard and the cable management itself (pop out the run of plastic cable guard, tuck wires behind, reinsert). I was pleasantly surprised that it still all fit and that it's not popping out at all. Picture below with freshly applied silicone (still wet) to make sure no moisture gets in:
Next steps: run the cables up front to the CPU. I didn't document this in pictures, but on the other side of where the cables run into the trunk, you can bend back the felt carpeting to reach the connectors and pull them through. Then, run up on the sides, where the rest of the cabling is (stereo, other built-in car wiring) i.e. behind the back left bolster of the rear seats, then under the plastic trim running along the doors and voila, that leads you to the fuse box.
Good stuff...happy to be done with this part.
Good stuff...happy to be done with this part.
