Interior Install // 01.16.2013
|
Several things I wanted to accomplish , and that are detailed on this page:
|
|
|
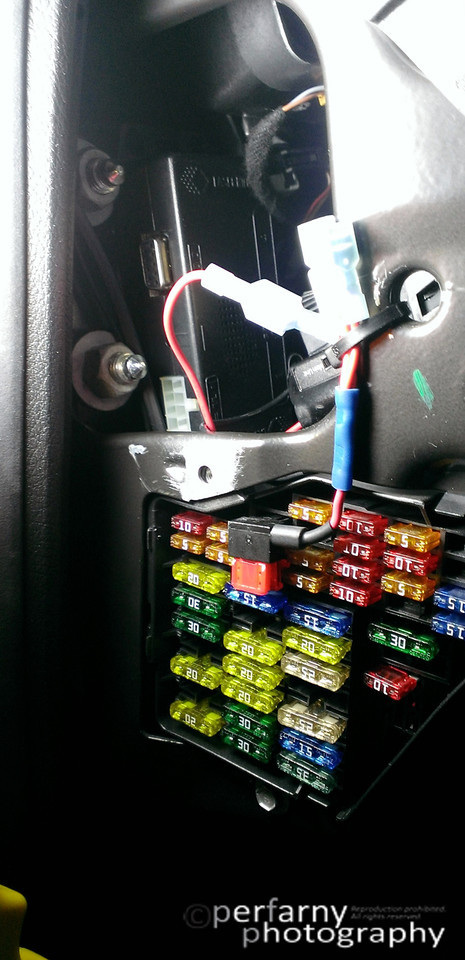
First thing I did was install the CPU. It's a small box and after looking around for best mounting, I chose just inside the fuse panel. Using trusty old velcro (2 strips on the frame, 2 on the back of the CPU), I mounted it inside with a nice, snug fit that still gives room to remove it easily (pic to right). Note: lots of crappy cell phone pics in this one.
You see my Add-A-Circuit setup to the right, too. Bought at my local autoparts store. I then took that, cut off the end, and made it three-pronged:

All items are grounded to the chassis (you can also see where I sanded off the paint...a screw attaches there with the various ground wires).
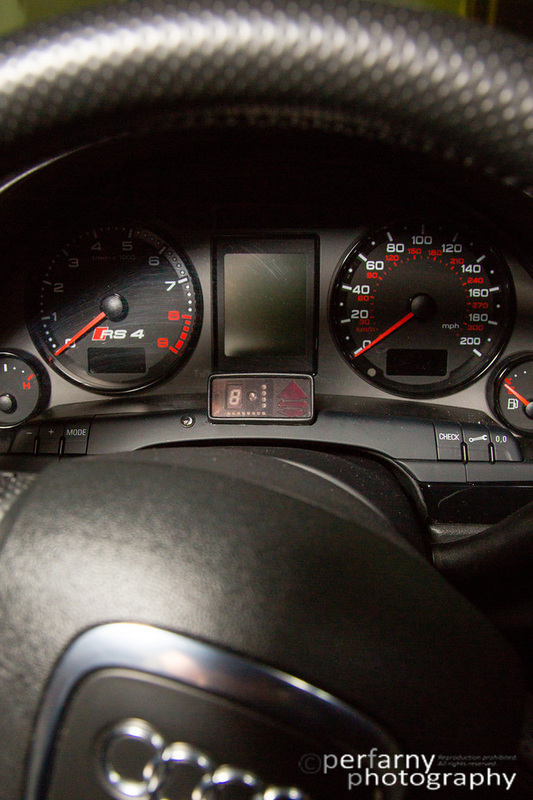
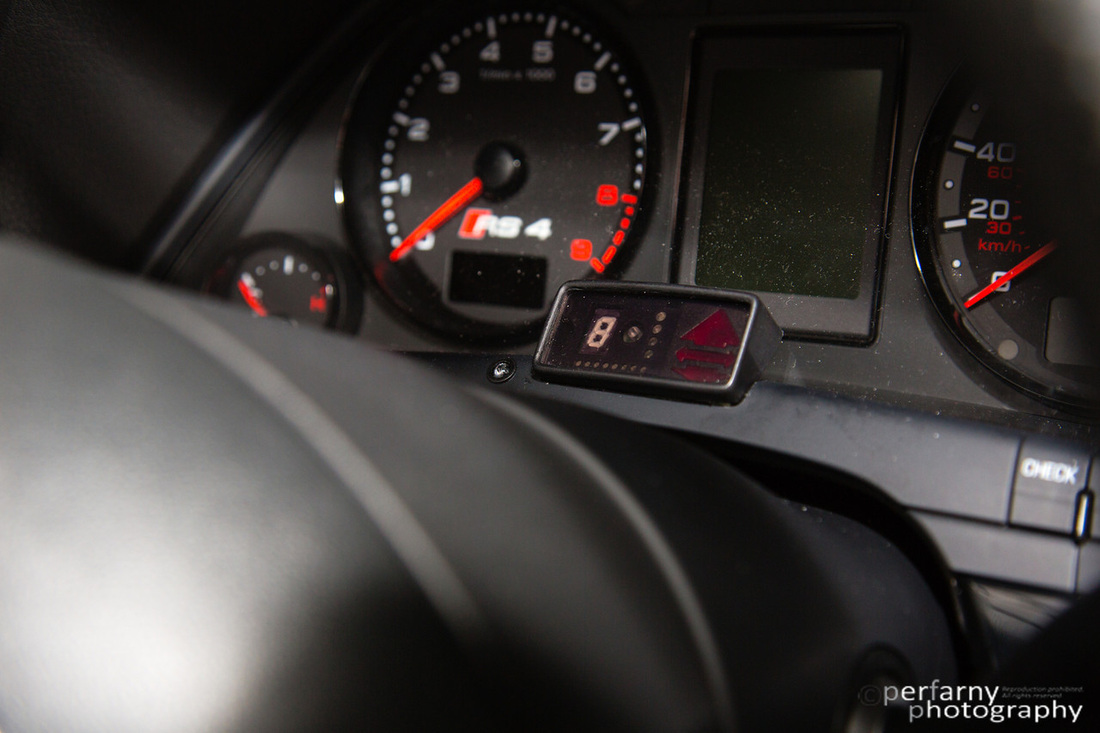
Next, I worked on the red warning LED. Bought that online from superbrightleds.com. My thinking here is: in addition to the audio warning, I'd also like a visual. Not sure about how the muting function will work yet overall (have the stereo muted when the alarm goes off) so, rather safe than sorry. What's great about this particular LED is that it comes with a small plastic ring that you can seat the light in. You'll see below when it's installed. (see further down below). |
|
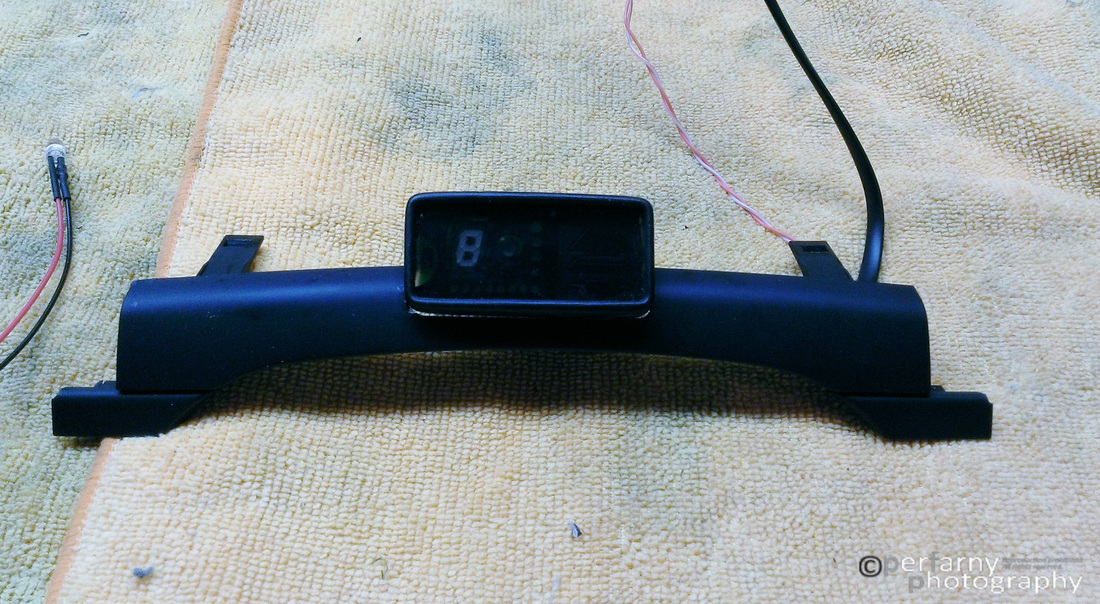
Started with my VooDooTec (LI-S4) remote display. It needed some renewed fastening, so did that at the same time.
Decided that the best spot would be to the left of the remote V1 display. I checked out in the car to make sure the height was good (I could see it) and also checked out where the easiest would be to drill through. There are a couple of heavier plastic lines in the back, and I placed the LED so as not to drill through those (just 'cuz). Taped the piece, then started with a smaller drill bit, and eventual hole used a 1/4" bit.
Insert the plastic snap-in ring that came with the LED from the front (it snaps into place), and push the LED in from the back: voila.
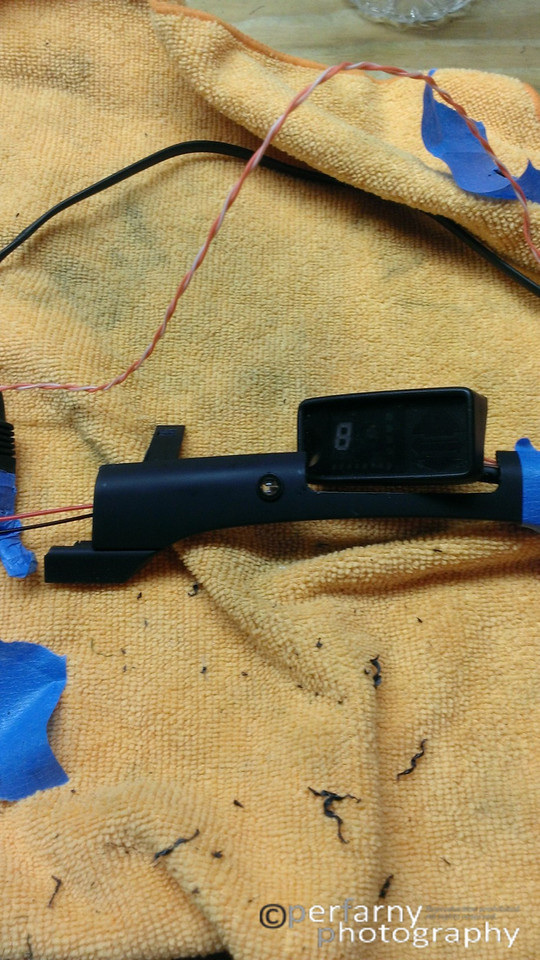
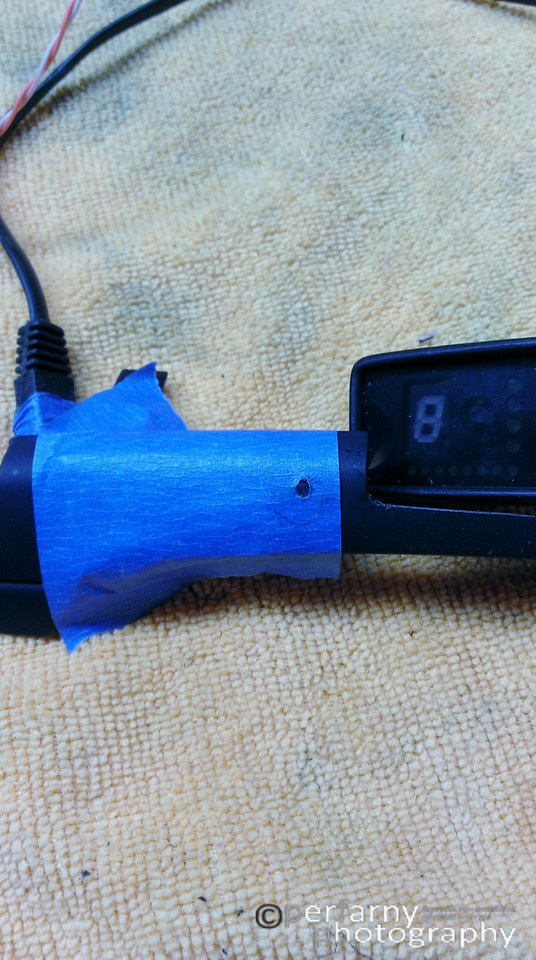
On the back, the LED comes with leads attached, I gently bent those to the side so that the trim piece would have no issue being reinstalled. Then hotglued the wires to the right, and reglued the LI-S4 display at the same time.
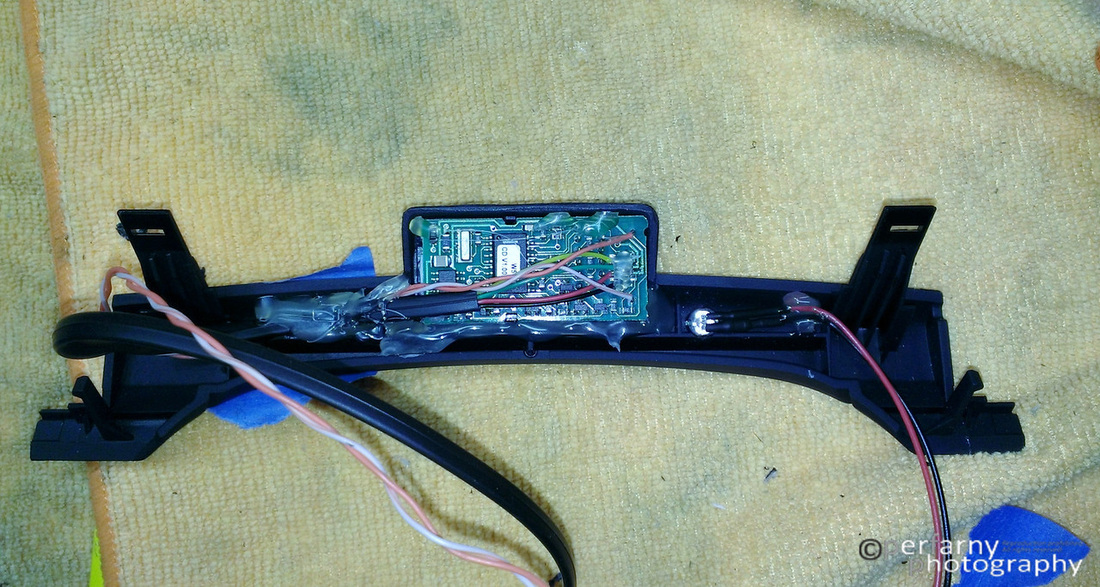
Reinsert the dash trim piece, run the wires to the Add-A-Circuit and ground, and this part is done. Note for running the wires: I had already installed the LI-S4 display prior, so I didn't need to drill any holes this time around. See the install notes here for details. The key to make the LED work when LI senses an alarm is to connect the red wire to switched 12v (my add-a-circuit piece) and the black to the LI's mute wire.
Some pics of it installed (click for hi-res):
Some pics of it installed (click for hi-res):

External Speaker
This was a quick one. The LI ships with an external speaker so that you can hear the alerts more clearly vs. just the CPU. Velcro was my friend again. I mounted it under the kick panel to the left of the clutch. It comes with a mounting harness which I at first used and had the speaker facing out towards the driver. With that, though, I'd hit it every now and again with my foot when shifting. So, I removed the harness, slapped the velcro on the back of the speaker, and it's perfect now. (Also realized I'm missing the screw for my dead pedal :/).
Power Switch
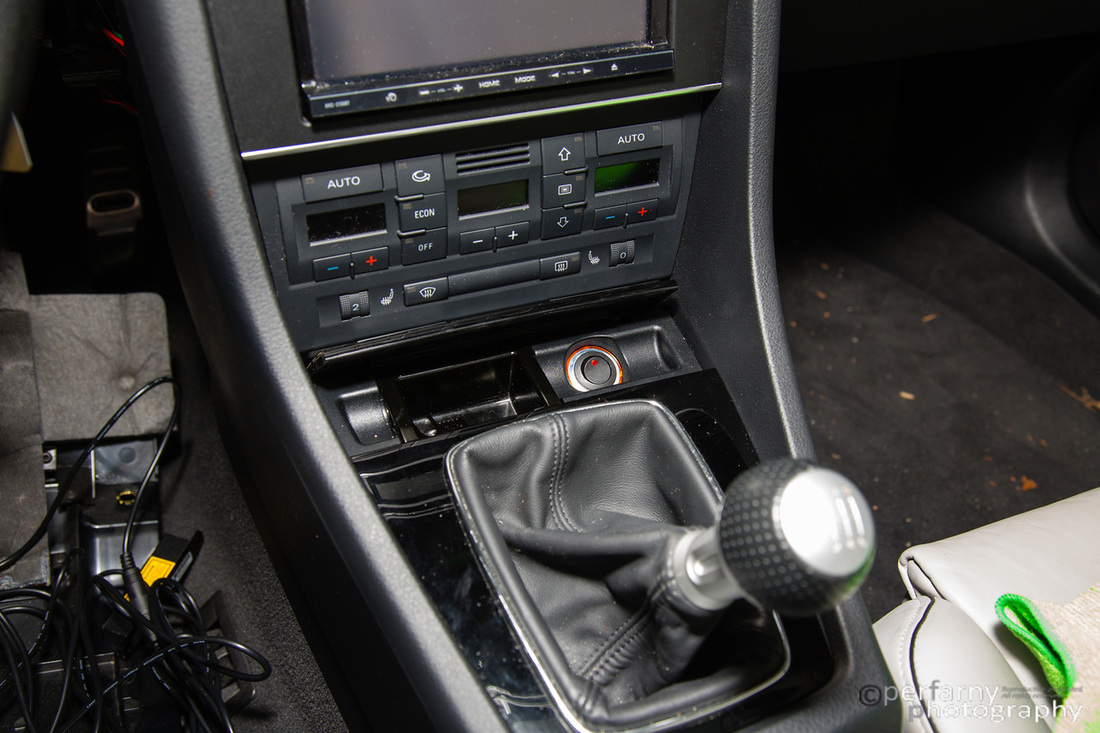
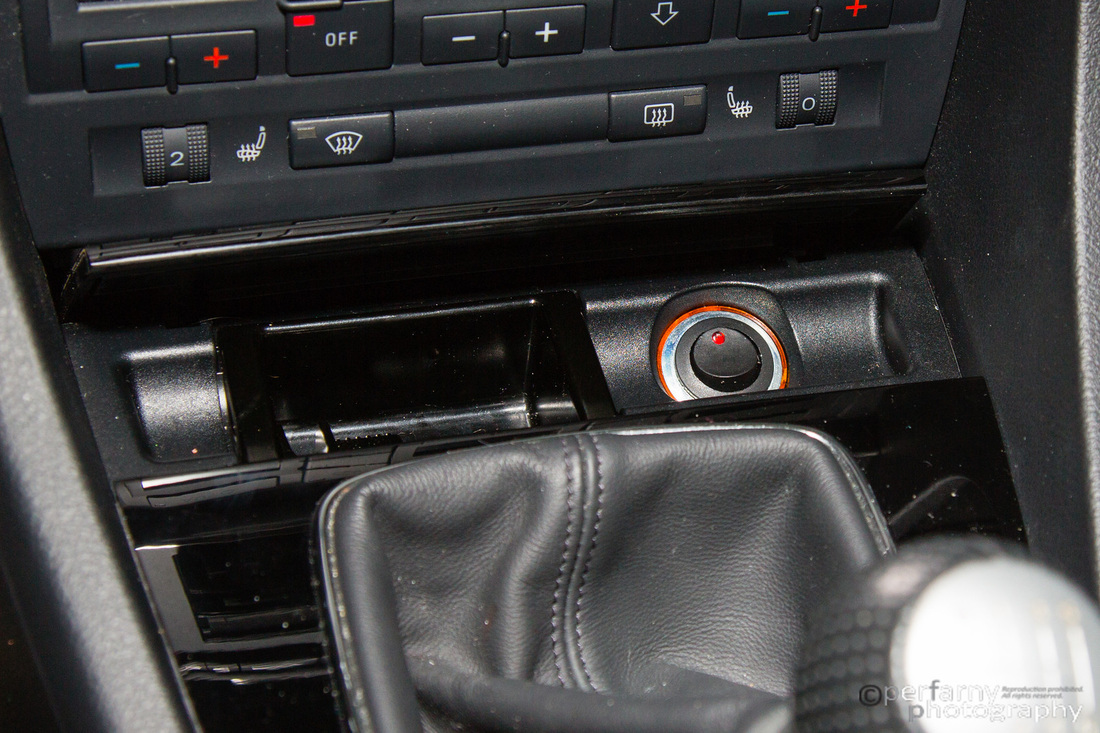
Thought about this one long and hard. At first, I wanted to mount it in the blank above the radio. Did a lot of research on finding an on/off switch for there. The Funk switch was most often referenced, but it's a momentary switch. I emailed a bunch of folks to no avail. So, revised plan was: put it in the front ashtray.
I had a couple switches laying around and did some test fitting and found that the standard snap-in rockers fit perfectly. Off now to Autozone to get an SPST 12v illuminated rocker switch.
To get the ashtray out, you first need to pry up on the shifter cover (four snaps on each corner). I didn't remove the shift knob, but just pulled the cover over it, and had it in 6th gear. It left plenty of room to work. Then remove the two 8mm bolts you see below.
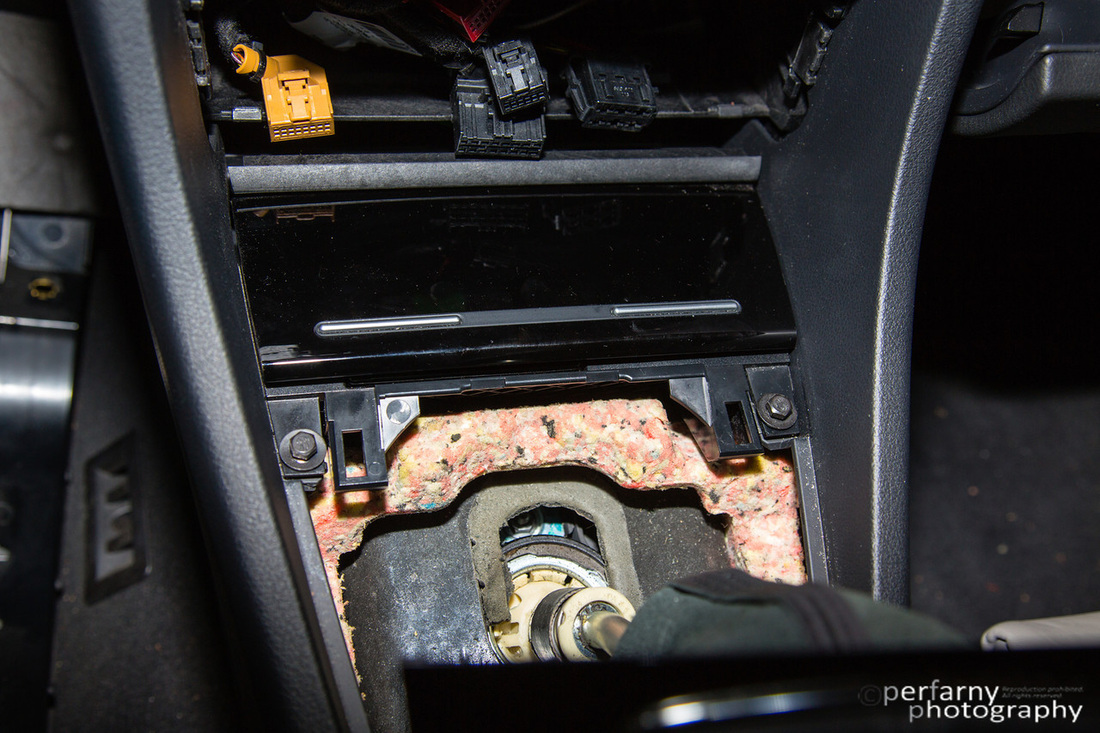
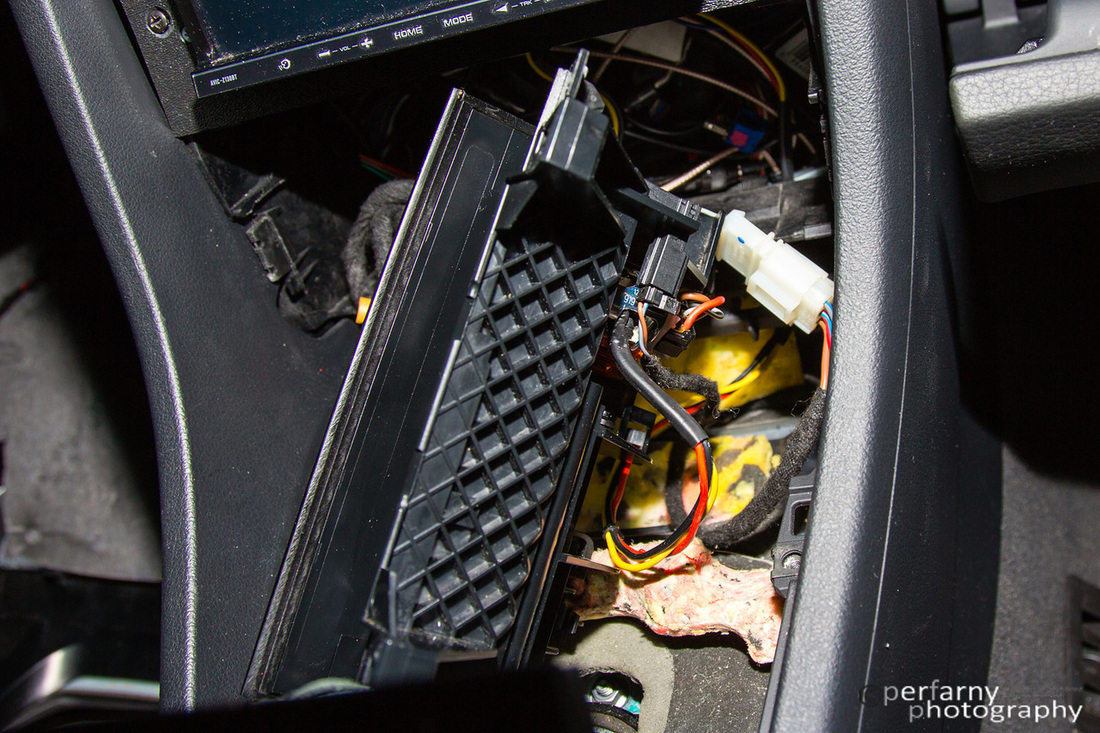
Next, remove the HVAC head unit. It's retained fairly loosely by 4 metal 'bridge' clips. I barely had to pull at all to get it out (not sure if not having factory NAV at this point contributed to that ease. Disconnect the HVAC head by pressing down on the tab you'll see on the 4 left ones, and in on the sides of the furthest right one. You can now pull the ashtray forward and up. There are two connectors you need to disconnect which the below shows: the big white one, and a smaller black one just to the left of the white one in the pic. Push up on the bottom of the small black one to disconnect (taken during install, which is why you see the switch wiring in there).
Ashtray out:
On to installing the switch...
The LI switch comes with a little connector that allows you to separate from the longer wiring. Cut those in the middle, and attached wires to new switch (new switch in back, soldered, heat shrunk).
The LI switch comes with a little connector that allows you to separate from the longer wiring. Cut those in the middle, and attached wires to new switch (new switch in back, soldered, heat shrunk).

Next, I pulled the wires through the lighter assembly. The really nice part about this setup is that it does zero irreversible damage to the car. All I had to do was bend out one of the side wall pieces from the ligher housing (see the silver piece in pic below. Picture is of ashtray upside down on my workbench).
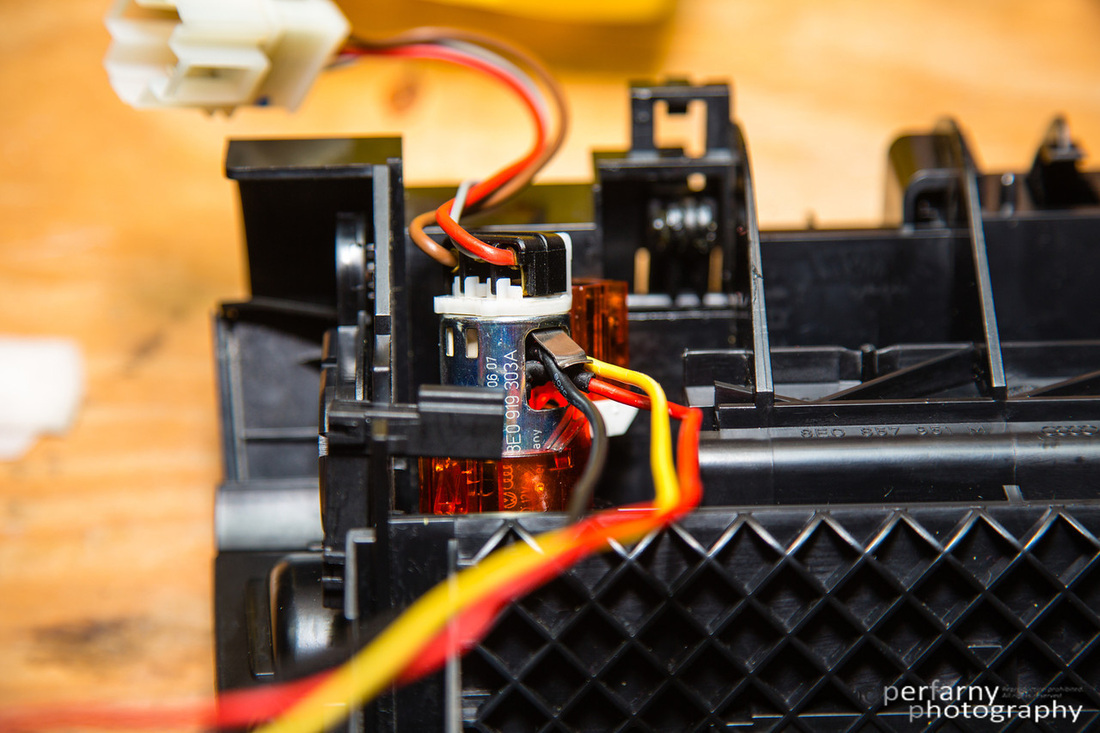
You need to bend the wires a bit so that the button gets fully recessed. You may want to use some type of light fastener to secure the switch, too, so that it doesn't pop out. I found that after install, with all wiring done, I didn't need any, though it seemed like I would during test fitting. Also during test fitting, I found out I needed the wires a bit longer so as not to make it a hassle to take in and out if I ever needed to in the future. Final result, with connector re-attached:

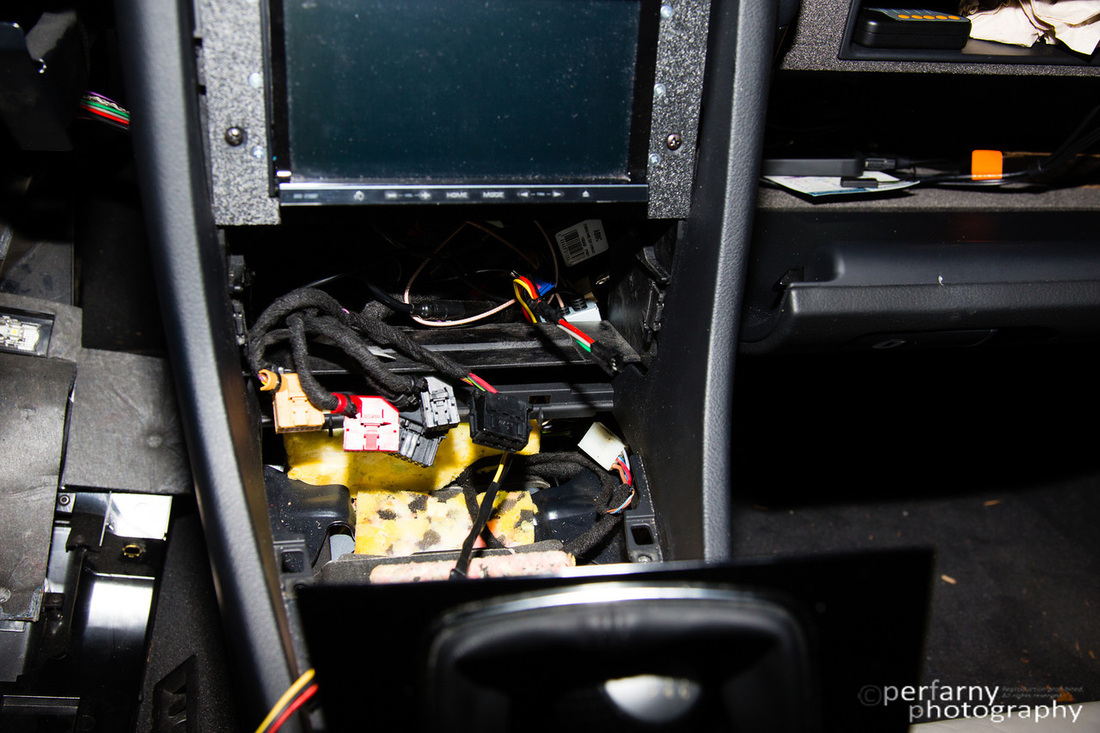
Finally, reinstall; don't forget to reconnect the two adapters. The wire for the power switch runs from bottom right of ashtray up into the space behind the HU. There's nothing to get in the way there, so it's easy. The other end of the power plug is behind the head unit (coming from the CPU in fuse box). Finished product:
I love it. Illumination ring from lighter still works and makes for a nice surround ;-). Illumination of switch lets me know if it's on, it's easy to reach when I'll need to (to shut off after slowing down), and it can be out of sight by closing the ashtray. Finally - can be undone with zero damage to the car.
Last but not least....
Last but not least....
Mute Wire
The LI can mute your audio source. I did the AV bypass on the stereo install (read 'updates' here), which moved the mute wire on the harness from its original location. After failing to hunt down this cheap ole', yet proprietary tiny little wire with the appropriate connector to again put into the mute part of the harness, I resorted to getting a replacement RCA harness for my HU from ebay. $25 :(
Happy to share, though, that it works as planned. I removed a single wire from the replacement harness, and reinserted it into the original mute wire slot. Now when LI senses an alarm, it automatically mutes the stereo. Very nice, since now I don't have to crank up the volume of the speaker too high, knowing I'll always hear it no matter how loud I'm playing music.
All right...that's it that's all for this part.
