LED DRL's // 02.01.2013
I have my daytime running lights set to always on, and knew a while ago I wanted to upgrade these to LED's. Mick on QW had given me the initial shopping list for these and city lights, so I knew what I needed. The LED's that were on the list, however, were no longer available and I consulted with V-Leds.com on what I should get. They pointed me to the newest one they had, putting out a whopping 510 lumens (the majority of the rest I've seen are at 420).
So, here's the very simple shopping list for this, up to date as of this writing:
Here's the LED next to the stock bulb (note the heavy duty heat sink near the front), and the resistor as shipped.
So, here's the very simple shopping list for this, up to date as of this writing:
- 6K White 1156 21 LED Parking Backup Light 2056, 1 Pair from v-leds.com
- 25w 10 Ohm resistors from Amazon
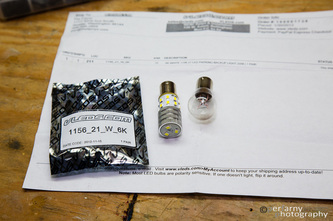
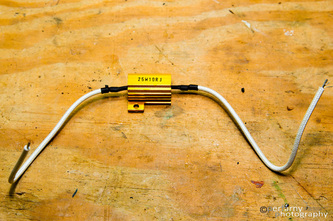
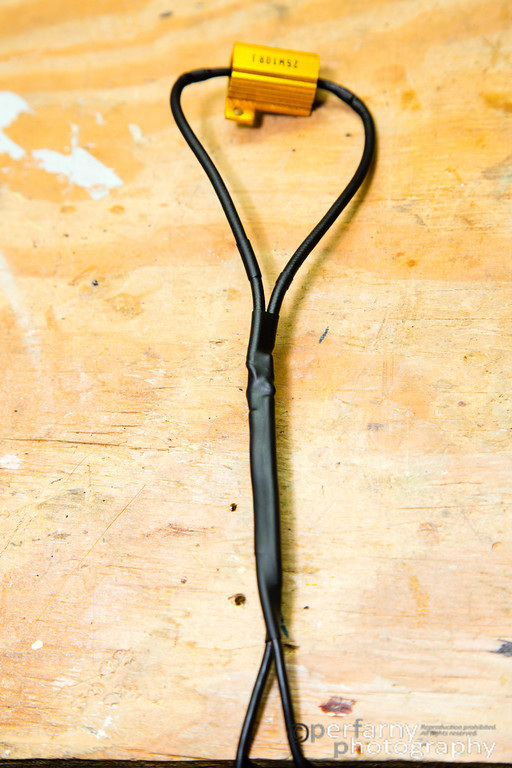
Here's the LED next to the stock bulb (note the heavy duty heat sink near the front), and the resistor as shipped.
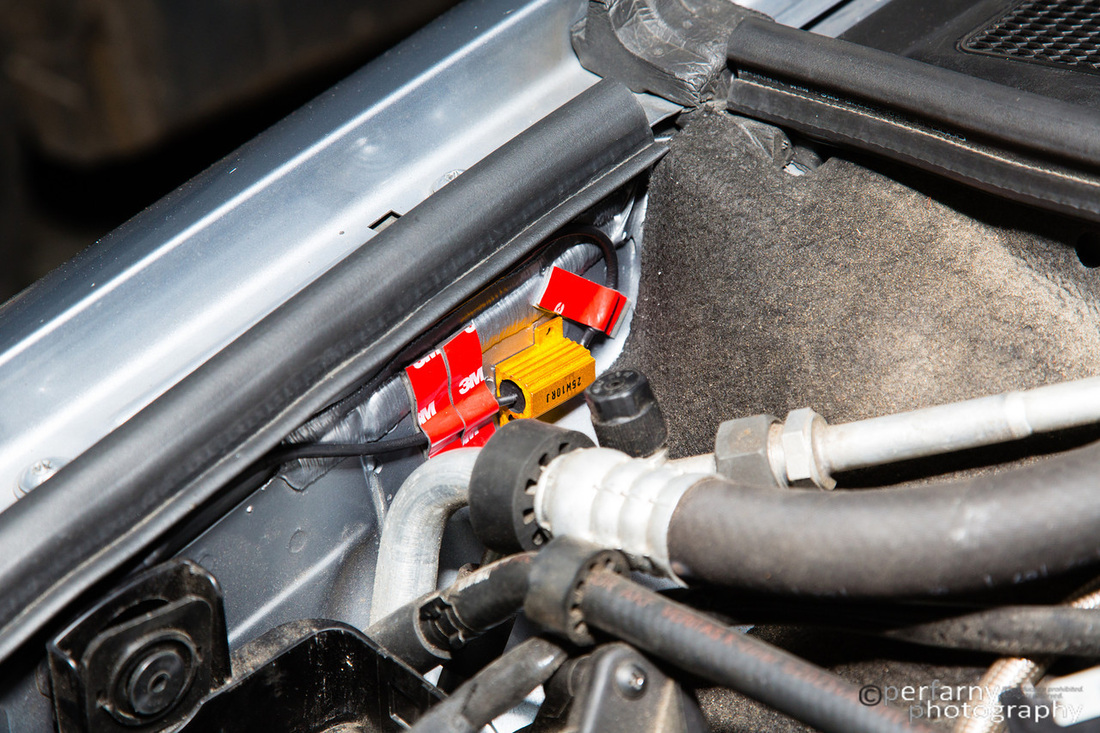
I gave it the ole' wing and a prayer and plugged in the bulb without the resistor, and of course: bulb out warning. So, I went ahead and wired up the resistors to verify it all worked: it did. I've heard people mention before that these things get hot, and wow - no kidding, they get cooking quickly. I've heard some people still just stick them into the headlight housing, I've seen others tape them to somewhere outside. Based on seeing how hot they get, I wanted to make sure to have them resting against metal to assist in the cooling of them, without any tape in between. So, I went looking... First place I tried was the below (metal part to right of green tape). Unfortunately, I didn't have a small enough drill to position it in there level and drill the hole, so I just drilled away some black paint :/
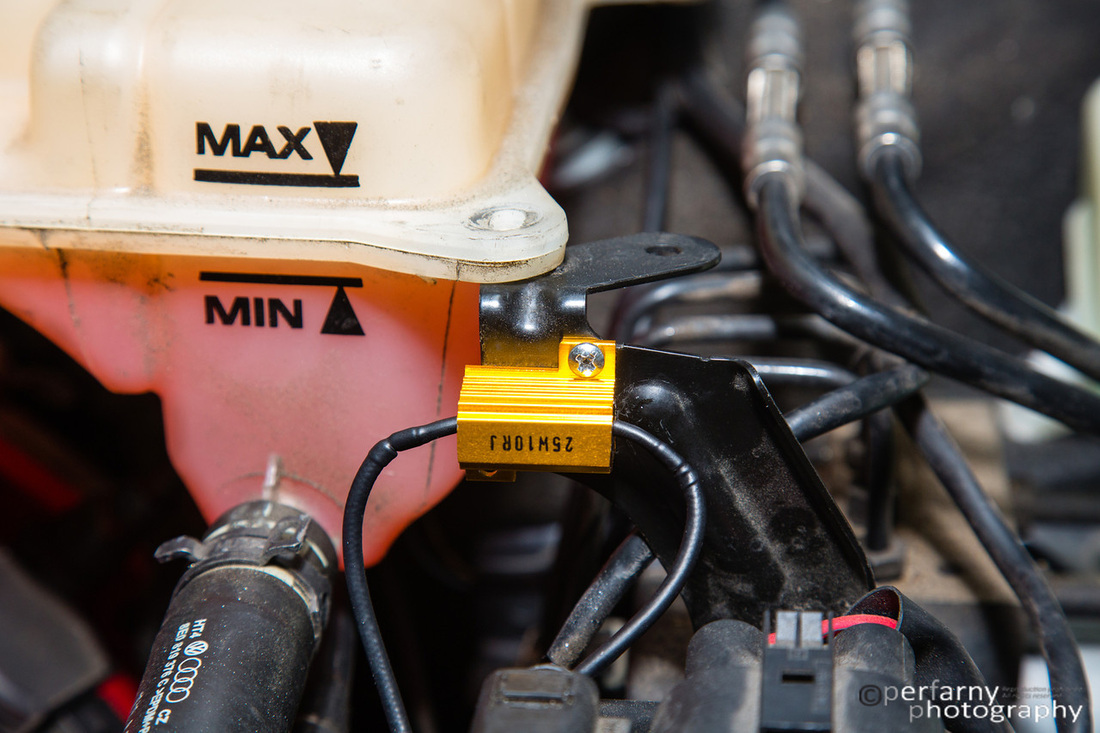
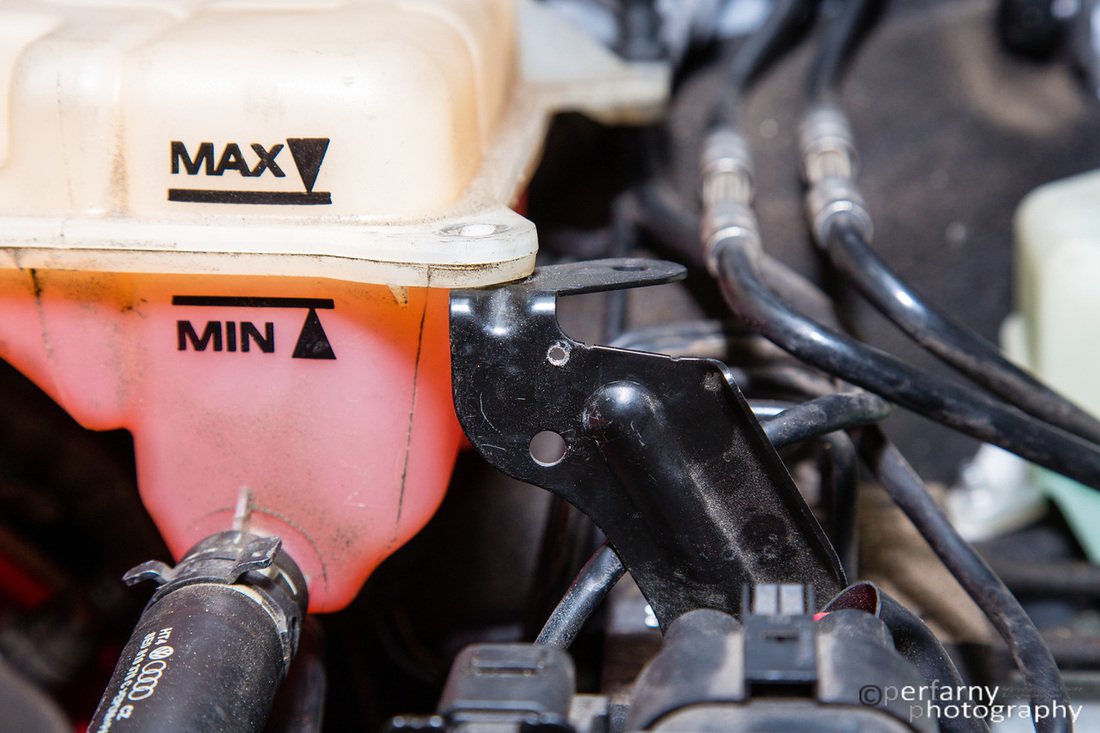
Looking a bit further up, I found the eventual mounting place. I held the resistor up to it in different positions and found that this was going to get the most coverage (I found a screw to secure my overflow tank, too; ) .
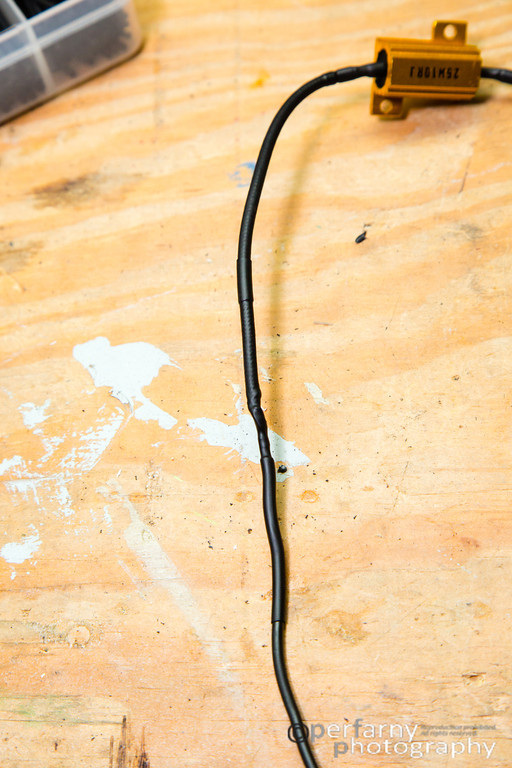
So, with it planned out, had to do a couple of things: extend the resistor leads and heat shrink (left pic below), and then used more heat-shrink to run the two wires together towards the housing (right).
Drilled one hole for mounting (it's plenty secure with just one screw):
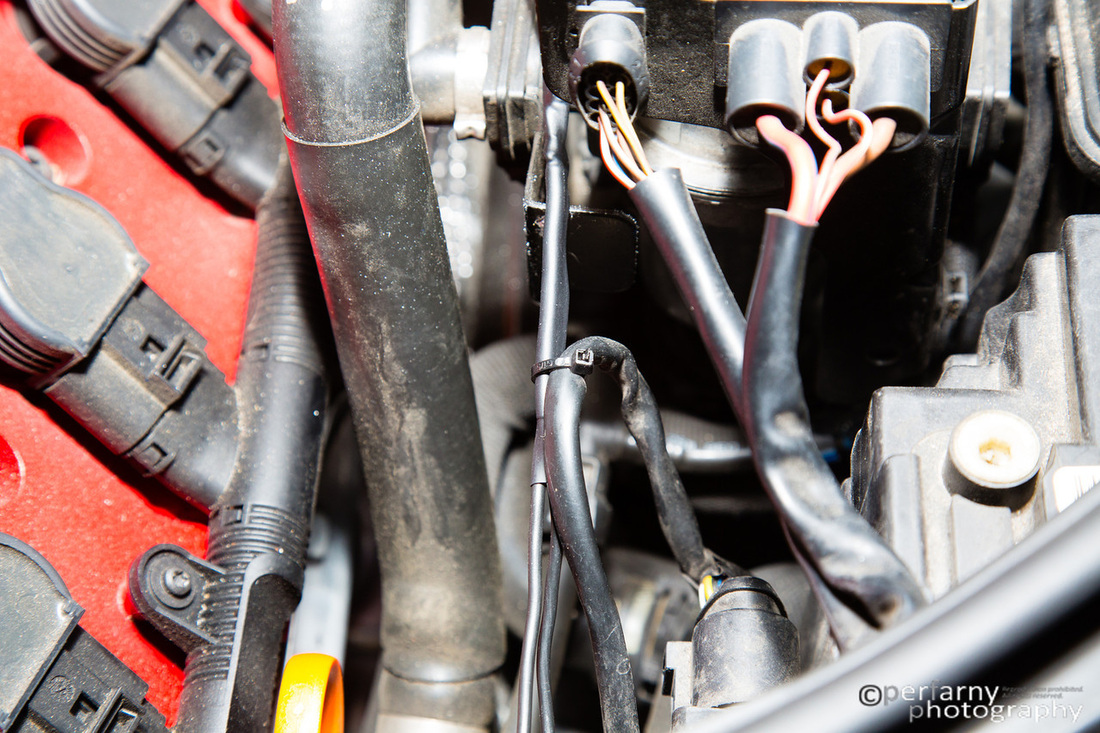
(You saw the final mounting earlier). Then zip tied existing wiring to make sure it didn't go all over the place:
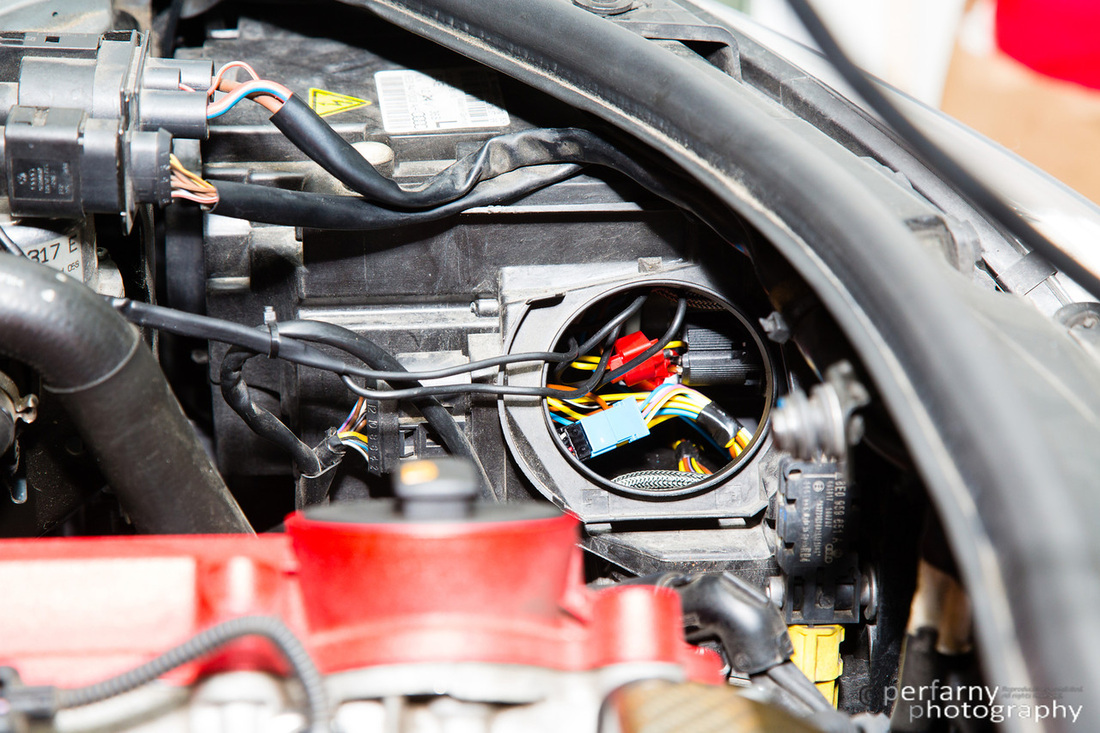
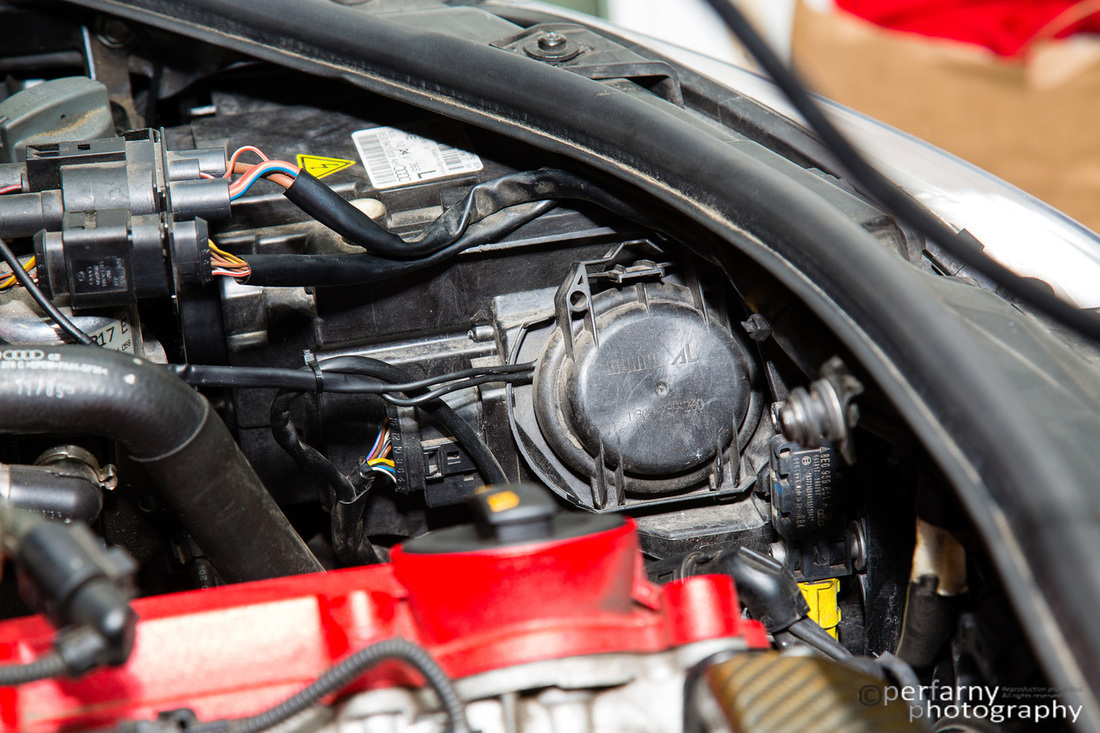
I then attached the resistor...A couple of notes on that...Three pictures down, you see the cover removed from the side of the headlight. It's clipped on at the top, with two prongs that extend at the bottom and secure it to the housing. So, just gently lift the clip and take off. The DRL light is the first one on the inside. Twist counter-clockwise about an 1/8 to 1/4 of a turn, and remove. Push down on bulb, twist, and remove.
|
There are only two wires coming off of our DRL's, so there's no guesswork. Makes no difference which end goes to which wire.
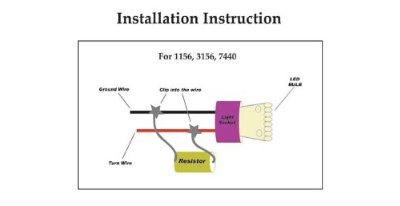
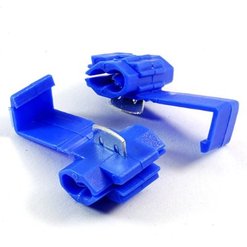
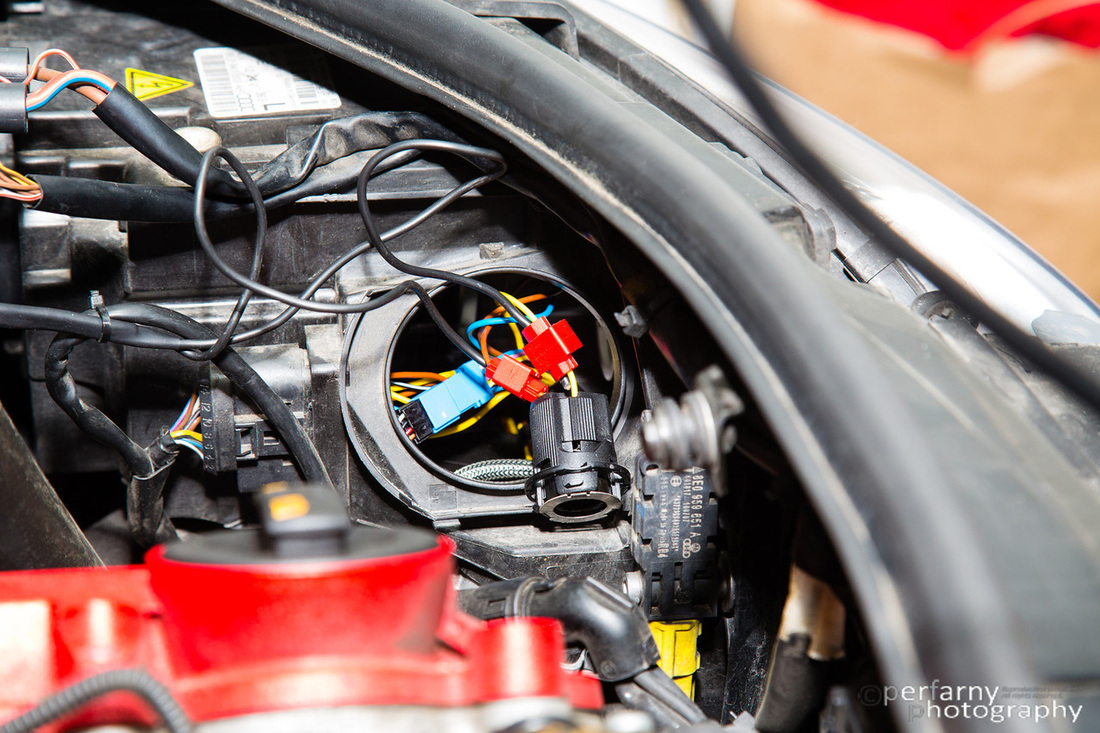
The resistors come supplied with 'quick clips'. I pushed the existing wire into the inside of the clip, and inserted the end of the resistor wire into the outside. Pic of a similar clip to the right (only difference is color). Once you have the wires in, take a pliers and squeeze down the metal bar, then fold over the long plastic piece to close. It's a bit of a pain since you don't have a lot of room to work with, but nothing too bad. Resistors installed below. |
Now, insert bulb and reinsert into housing. It's also a bit tricky since the new bulb is fairly long, but patience will prevail.
Re-attach lid. the wires will be fine being a bit squeezed here:
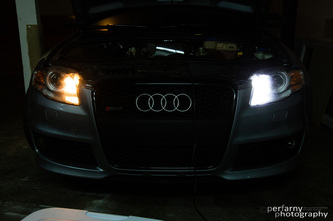
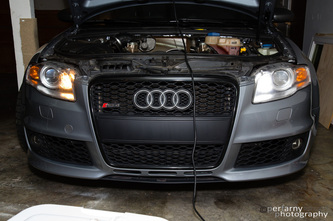
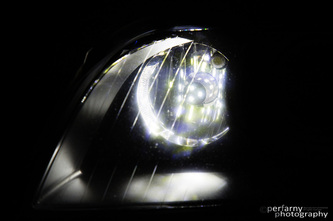
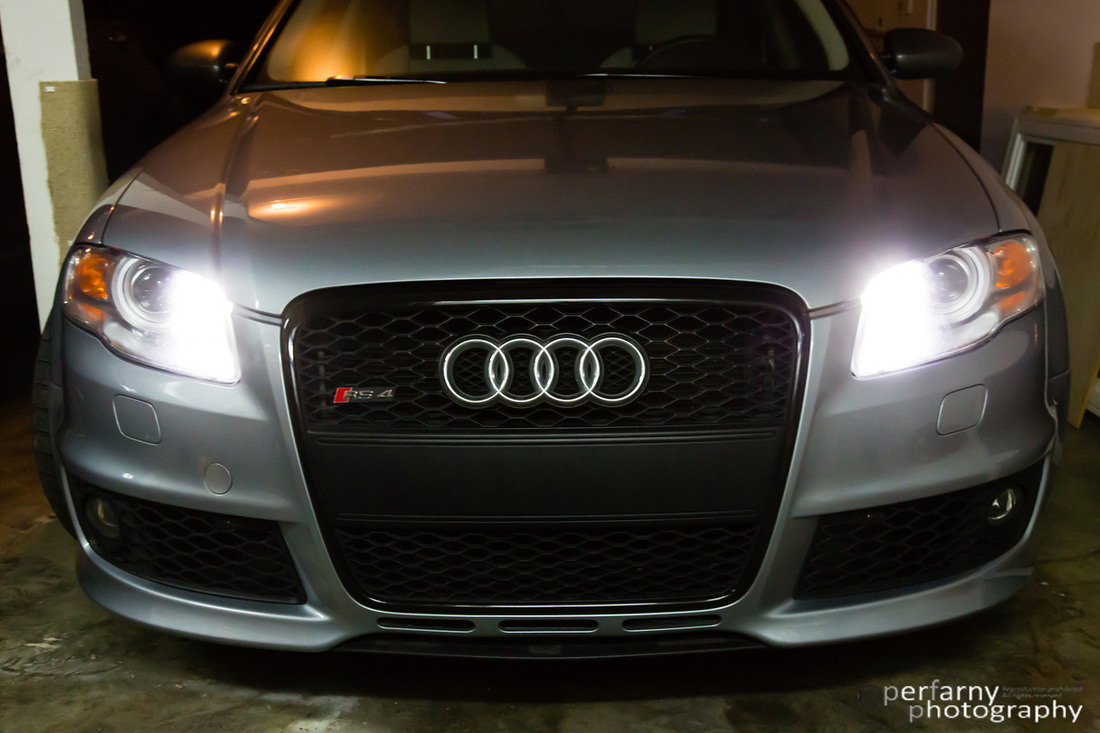
Turned it on, and wow:
Passenger Side: Rinse & Repeat
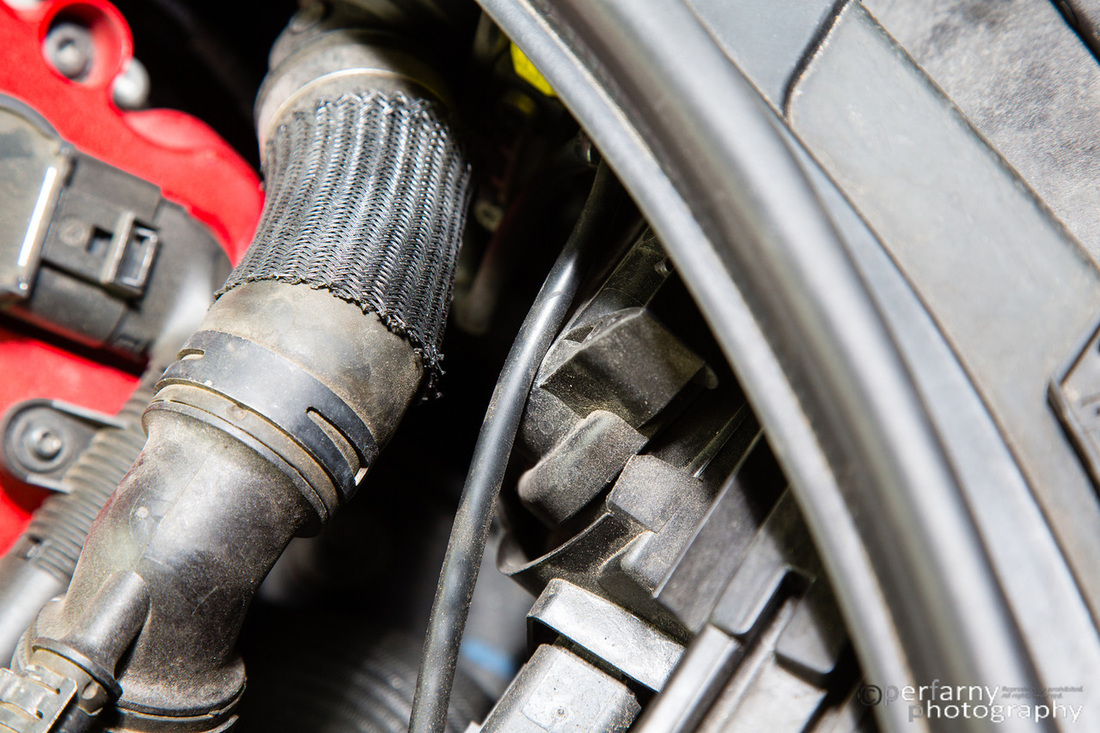
Just a couple of differences on the passenger side. First, remove the plastic air intake above the headlight by removing the two screws near the bumper. I couldn't find an easy place to mount the resistor here, and didn't quite want to drill into this piece of the car (below) so I used the 3M tape to secure for now (might change it yet after all). Again made sure as much of the back plate of the resistor is touching metal. Ran the wires towards the outside of the edge of the engine compartment as you can see.
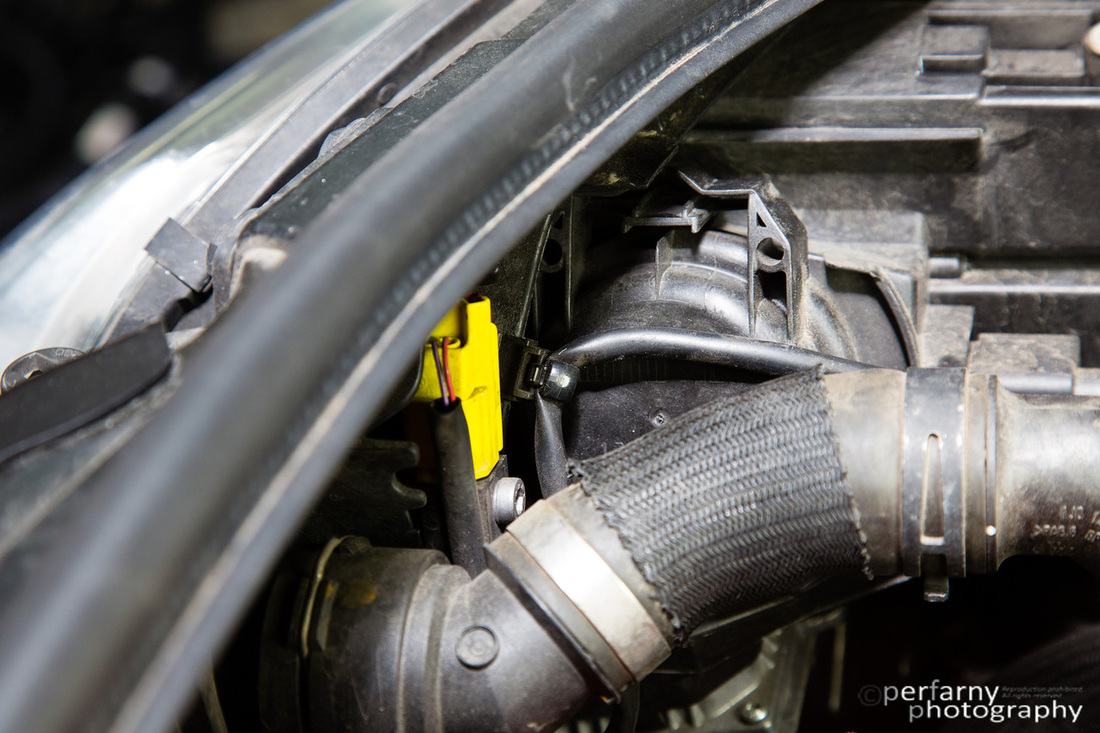
A bit harder to get into the housing because of the radiator hose:
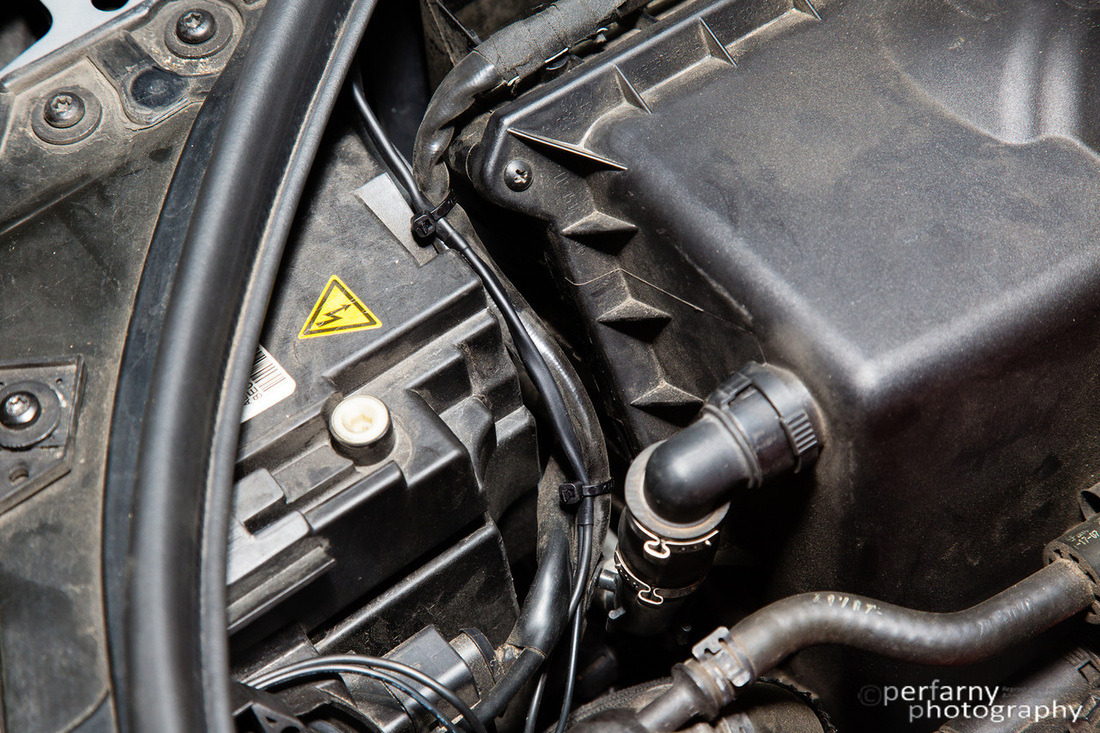
Had to cut off this zip tie to get in, too:
Once installed, resistor wires zip tied to headlight wires (I also replaced the zip tie I had to cut off).
All done.
I've driven a couple of weeks with them now, and they work great. Haven't gotten any bulb warnings or flickering that I've ready some people have experienced with slightly different setups.
